Red Lentil Soup
Crispy Glazed Beef, Sencha’s Dishes
Prep Time: 10 minutes | Cook Time:30 minutes | Serves: 4-6 people
One pot. Thirty minutes. The creamiest lentil soup with zero cream, packed with antioxidants and fiber that actually fills you up!
Your new go-to comfort soup that's healthy, hearty, and ridiculously easy!
This isn't just any lentil soup -- it's pure comfort in a bowl! Red lentils break down naturally to create a velvety, creamy texture without a single drop of cream. Packed with protein, fiber, and iron, this vibrant orange soup keeps you full and energized for hours. Serve it with crispy pita bread and a sprinkle of smoky paprika for the perfect cozy meal!
Ingredients
For the Soup
1 cup red lentils, rinsed well
2 medium onions, finely chopped
4 garlic cloves, minced
2 medium carrots, chopped
2 medium potatoes, peeled and cubed (optional but makes it creamier)
3 tablespoons olive oil
1 tsp cumin powder
½ tsp turmeric
¼ tsp black pepper
1 to 1½ tsp salt (adjust to taste)
5 cups water
1 cube vegetable or chicken stock
Juice of ½ lemon
For Serving
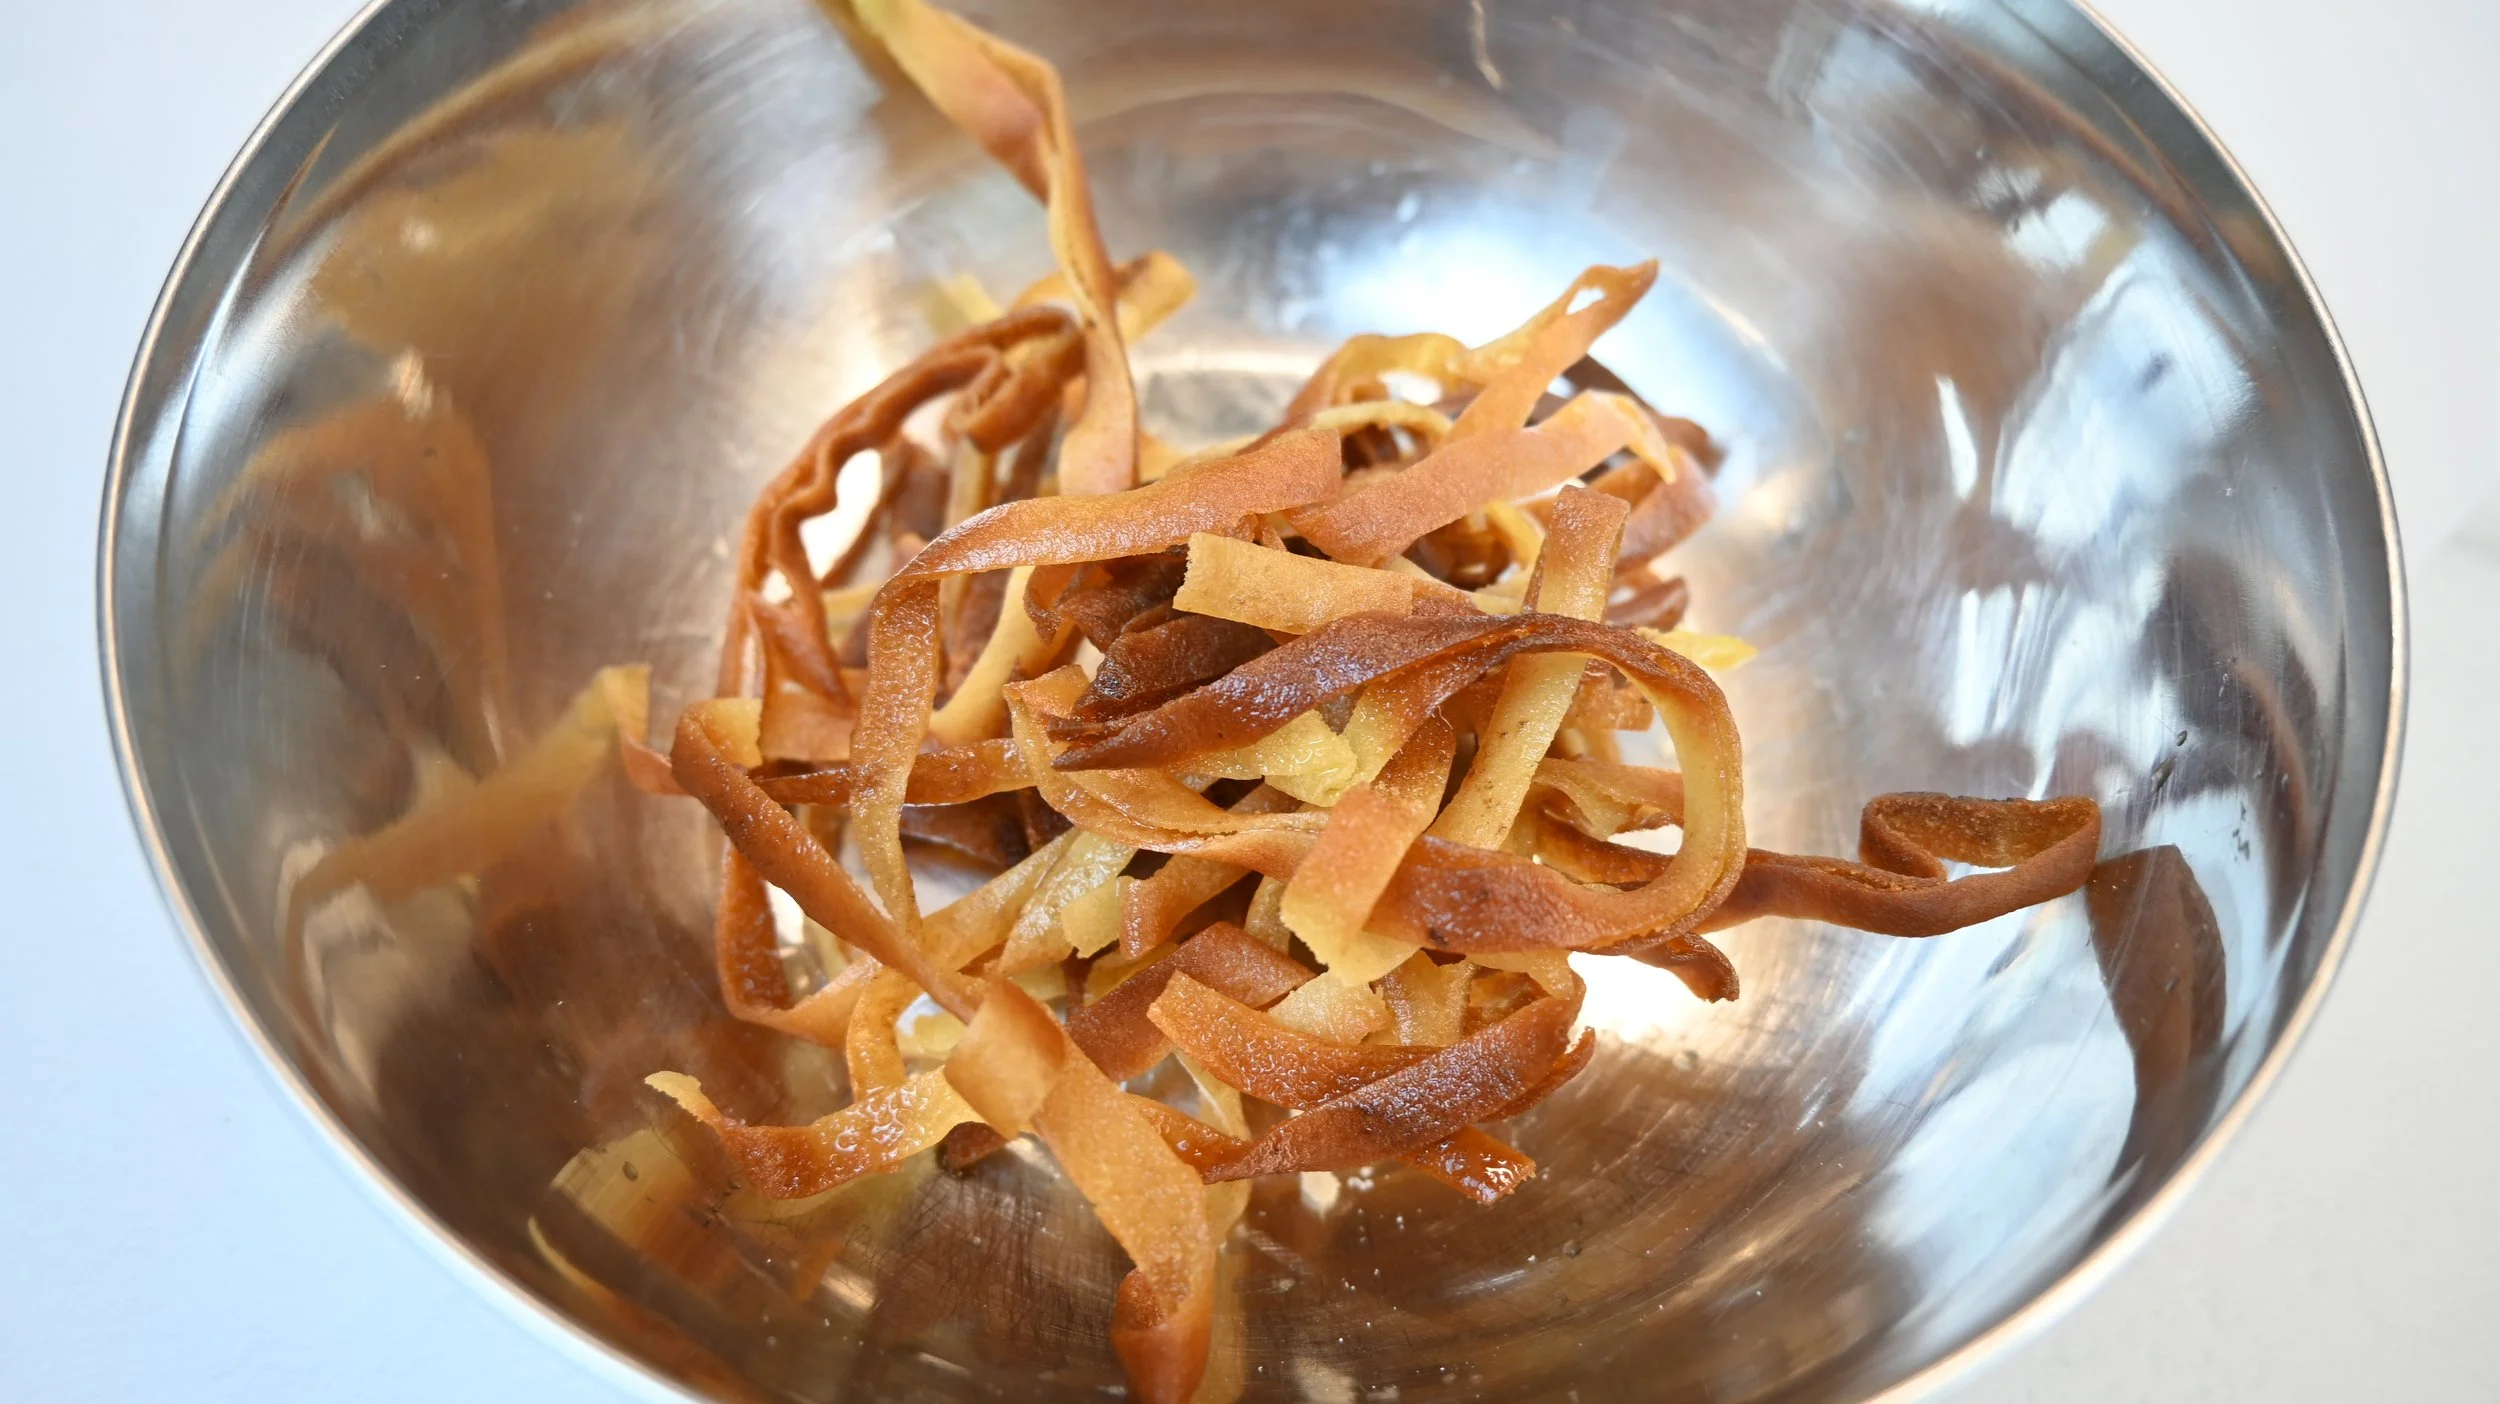
Crispy fried or baked pita bread pieces
Fresh chopped parsley
Smoked paprika for sprinkling
Drizzle of olive oil (optional)
Instructions:
Rinse the Lentils
Rinse the red lentils thoroughly under cold water until the water runs clear. This removes excess starch and prevents foaming. Set aside.
Sauté the Onions
Heat 3 tablespoons of olive oil in a large pot over medium heat. Add the chopped onions and a pinch of salt. Stir for 4 to 5 minutes until soft and translucent.
Add Garlic & Vegetables
Add the minced garlic, chopped carrots, and cubed potatoes to the pot. Sauté together for a minute or two until the aromas come out.
Add the Spices
Sprinkle in the cumin, turmeric, and black pepper. Stir for about 30 seconds, letting the spices coat the vegetables and release their flavors. The beautiful golden color will start to develop!
Add Lentils & Liquid
Add the rinsed lentils and mix them into the spices until well coated. Pour in 5 cups of water and add the stock cube. Stir everything together.
Simmer
Bring to a boil, then lower the heat and let it simmer for 30 minutes. Stir occasionally. The lentils will break down and naturally thicken the soup, creating that creamy texture. Test the potatoes and carrots with a fork -- they should be soft and cut through easily.
Blend Until Smooth
Turn off the heat and let cool for a few minutes. Use a stick blender directly in the pot to blend until completely smooth and creamy. The lentils and potatoes create that luxurious texture without any cream! If using a regular blender, work in batches and be careful -- it's hot.
Adjust & Finish
Check the consistency -- if it's too thick, add a splash of water and stir. Taste and adjust with more salt and pepper if needed.
Serve & Garnish
Ladle the creamy soup into bowls. Top with crispy fried or baked pita bread pieces, a generous sprinkle of smoked paprika, fresh chopped parsley a drizzle of lemon juice.. Look at that gorgeous color and texture -- the perfect comfort food for a cold day!
Tips & Variations
Extra creamy without potato: Reduce the water slightly (to 4½ cups) and blend longer
Storage: Refrigerate up to 3 days and reheat gently, adding a splash of water if it thickens
Baked pita option: Cut pita into pieces, brush with olive oil, and bake until crispy instead of frying
Nutritional boost: Lentils have magnesium and zinc, great for your bones and muscles
Freezer-friendly: Make a big batch and freeze portions for up to 3 months
What Makes This Soup Special
Budget-friendly -- made with affordable, wholesome ingredients
Minimal cleanup -- one pot means more time to enjoy
Versatile -- easily customizable with your favorite vegetables or spices
Family-approved -- smooth, comforting flavor that everyone loves
Ready to enjoy this cozy bowl of comfort?
This Creamy Lentil Soup is so good and so easy to make! It's nourishing, satisfying, and perfect for those days when you need comfort in a bowl. I'd love to see your version -- share your photos and let me know if you tried any creative twists! Until next time, happy cooking!
Hi, I’m Sencha. welcome to my kitchen! I’m a home cook with Korean and Vietnamese roots, raised in the Middle East. In my kitchen, cultures blend and flavor comes first. I share comforting, everyday recipes inspired by my heritage and upbringing: bold Korean, fresh Vietnamese, cozy Arabic dishes — made with love for family, and now for you!


